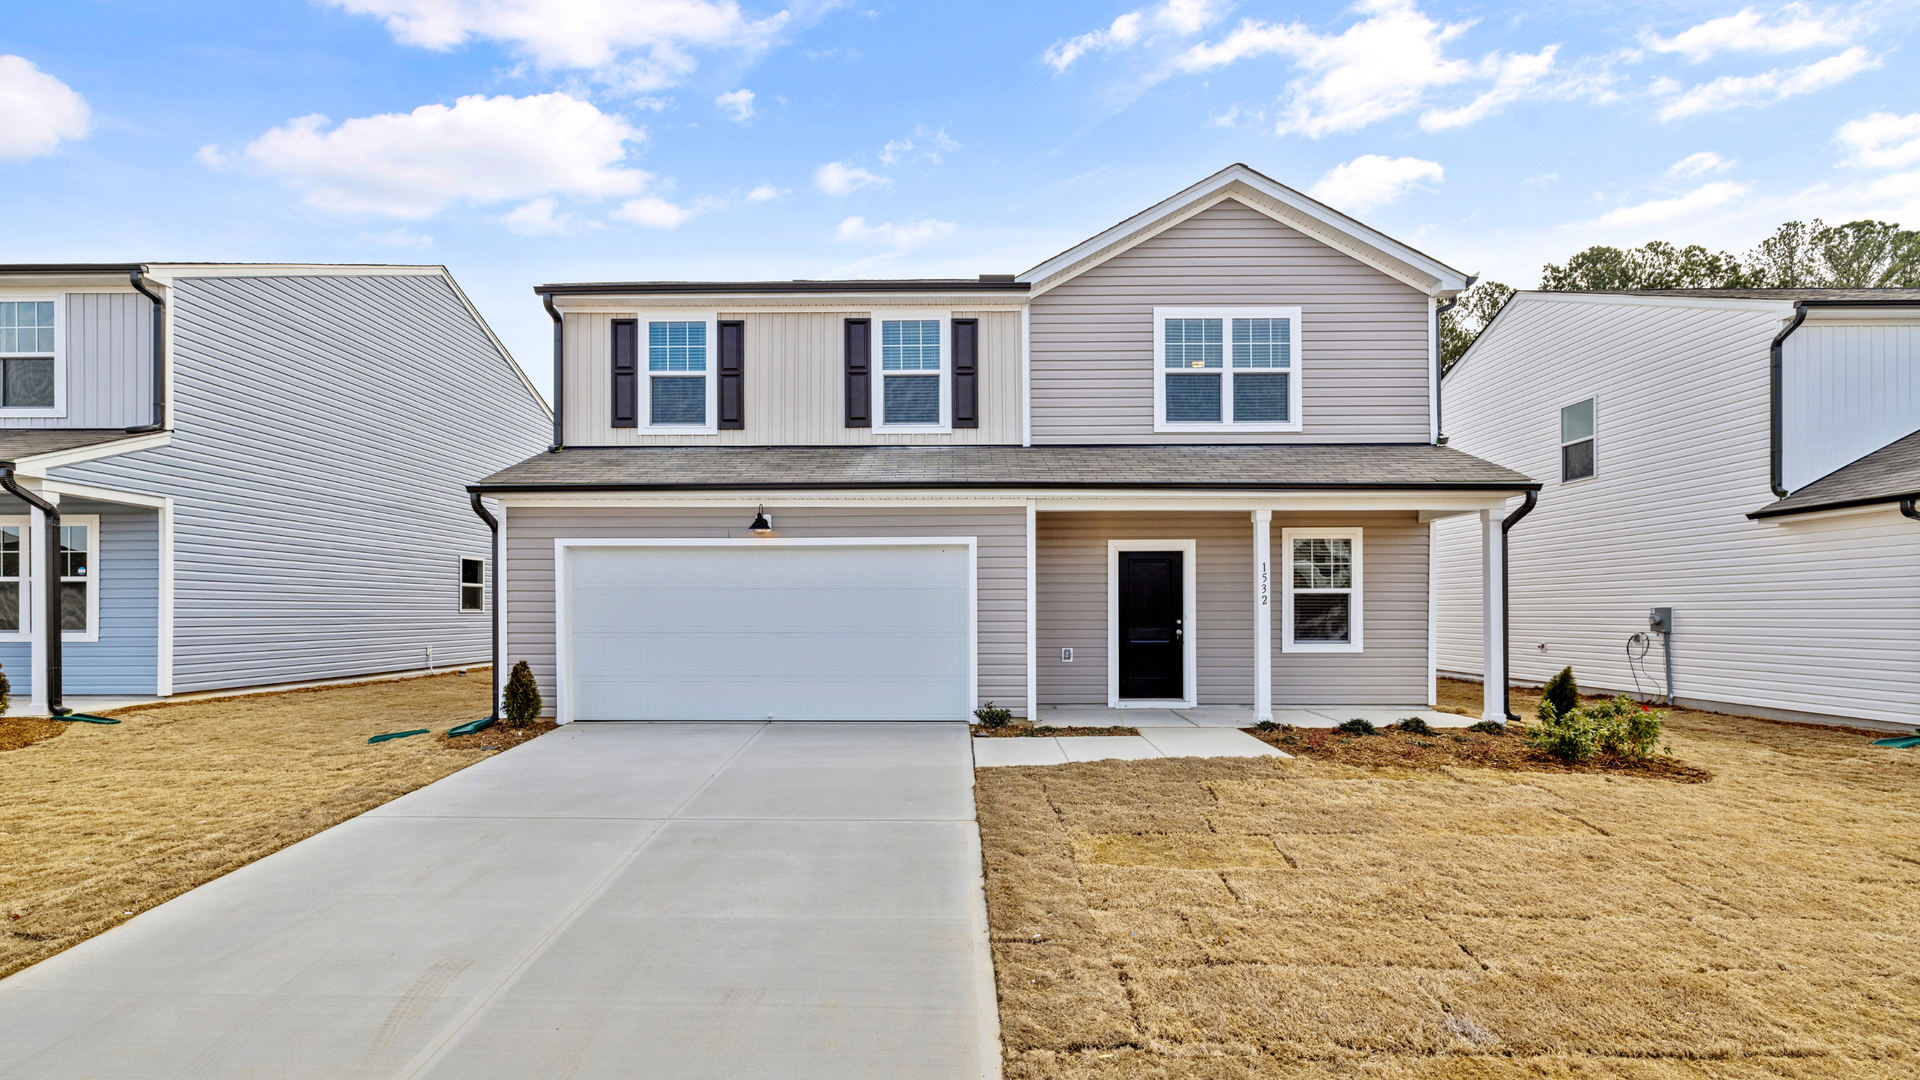
Concrete Driveway Installation Process in Silverdale WA: What Homeowners Should Expect
Installing a
concrete driveway is one of the most important exterior improvements a homeowner can make. It affects daily use, curb appeal, and long-term property value. While many people focus on the finished look, the installation itself is what determines how well the driveway performs over time.
In Silverdale, where rain and moisture are constant factors, proper installation is especially important. A driveway that is installed correctly can perform reliably for decades. One that is rushed or poorly prepared may develop issues much sooner.
This guide walks through the full concrete driveway installation process so homeowners understand what to expect, what matters most, and how to evaluate the quality of work being done.
Why Proper Installation Matters
A concrete driveway is not just a poured surface. It is a system made up of layers and steps that must work together. When one part of the process is done incorrectly, it often leads to long-term problems.
Most driveway issues are not caused by the concrete itself. They are caused by poor preparation, weak base support, or improper finishing during installation.
A properly installed driveway helps ensure:
- Even weight distribution across the slab
- Resistance to cracking and shifting
- Proper drainage away from the surface
- Consistent thickness and structural strength
- Long-term durability with fewer repairs
In Silverdale’s wet climate, correct installation is critical. Without proper drainage and base preparation, moisture can weaken the ground beneath the driveway and cause structural issues over time.
Step 1: Site Evaluation and Planning
Before any work begins, the property must be evaluated. This step determines how the driveway will be designed and installed.
What Contractors Look For
- Soil stability and composition
- Existing driveway condition if replacing
- Drainage flow and water direction
- Slope and elevation changes
- Access for equipment and materials
Drainage planning is especially important in Silverdale. Water must be directed away from the driveway to prevent long-term damage.
Proper planning ensures the driveway is designed specifically for the property, not based on a standard template.
Step 2: Excavation and Removal
Once the plan is set, the existing surface is removed if necessary, and the area is excavated to the required depth.
Key Goals of Excavation
- Remove unstable or organic material
- Create space for the gravel base and concrete slab
- Establish the correct slope for drainage
Excavation depth must account for both the base layer and the concrete thickness. If excavation is too shallow, the driveway may not have enough structural support.
Step 3: Base Preparation
The base layer is one of the most important parts of the installation process.
A compacted gravel base supports the concrete slab and distributes weight evenly across the driveway.
What a Proper Base Includes
- Crushed gravel or aggregate
- Even grading across the entire surface
- Mechanical compaction to prevent shifting
In Silverdale, the base also plays a key role in drainage. It allows water to move away from the slab instead of collecting beneath it.
Without a stable base, even thick concrete can crack or settle over time.
Step 4: Formwork and Layout
Forms are placed along the edges of the driveway to define its shape, thickness, and slope.
Why Formwork Matters
Forms ensure:
- Consistent thickness across the slab
- Straight edges and clean layout
- Proper slope for water runoff
At this stage, the driveway dimensions and transitions are finalized. This includes connections to garages, walkways, and surrounding areas.
Accurate form placement helps prevent uneven surfaces and drainage issues.
Step 5: Reinforcement Installation
Reinforcement strengthens the concrete and helps control cracking.
Common Reinforcement Options
- Steel rebar arranged in a grid pattern
- Welded wire mesh embedded within the slab
Reinforcement does not eliminate cracking, but it helps keep cracks smaller and more controlled.
This step is especially important for driveways that support heavier vehicles or frequent use.
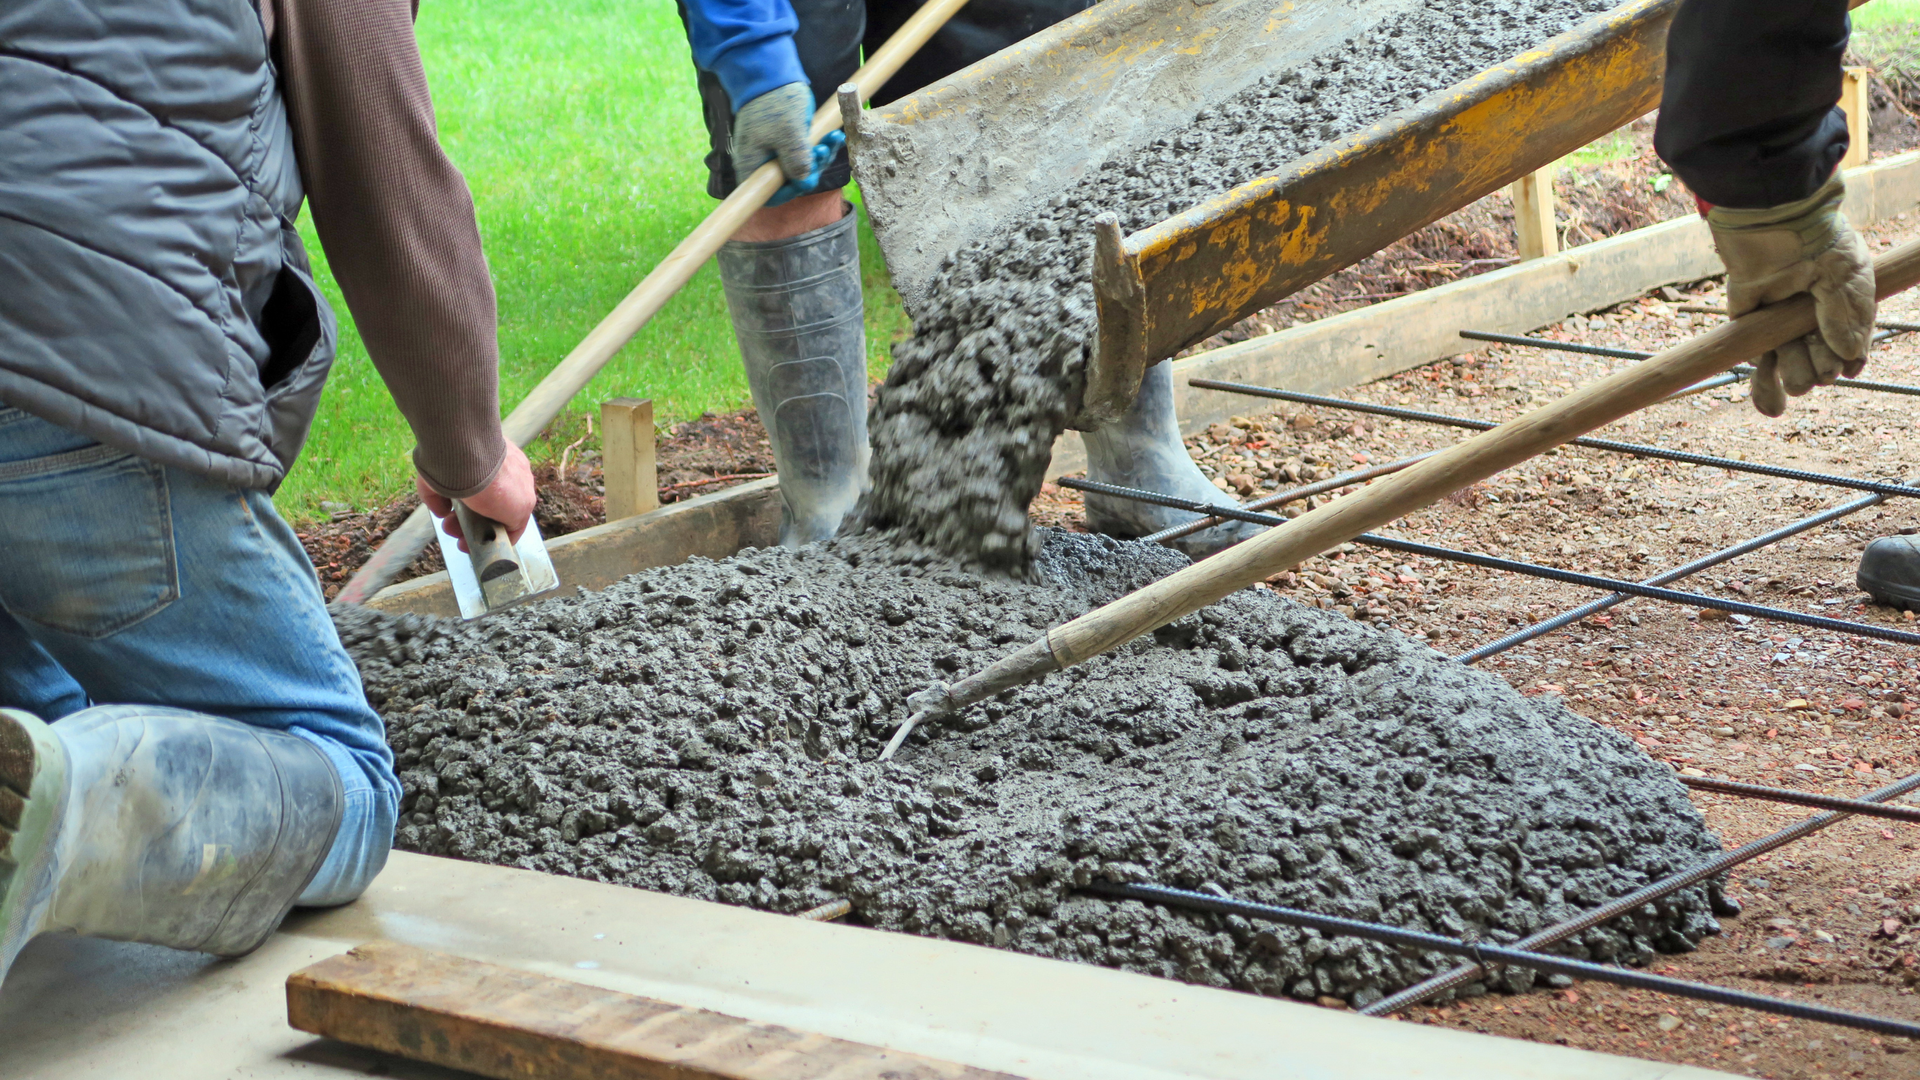
Step 6: Concrete Pouring
Once the base, forms, and reinforcement are ready, the concrete is poured.
This stage requires coordination and timing, as concrete begins to set shortly after placement.
Key Considerations During Pouring
- Consistent concrete mix
- Even placement across the entire slab
- Maintaining proper thickness
- Avoiding delays that affect curing
The quality of the pour directly affects the strength and durability of the finished driveway.
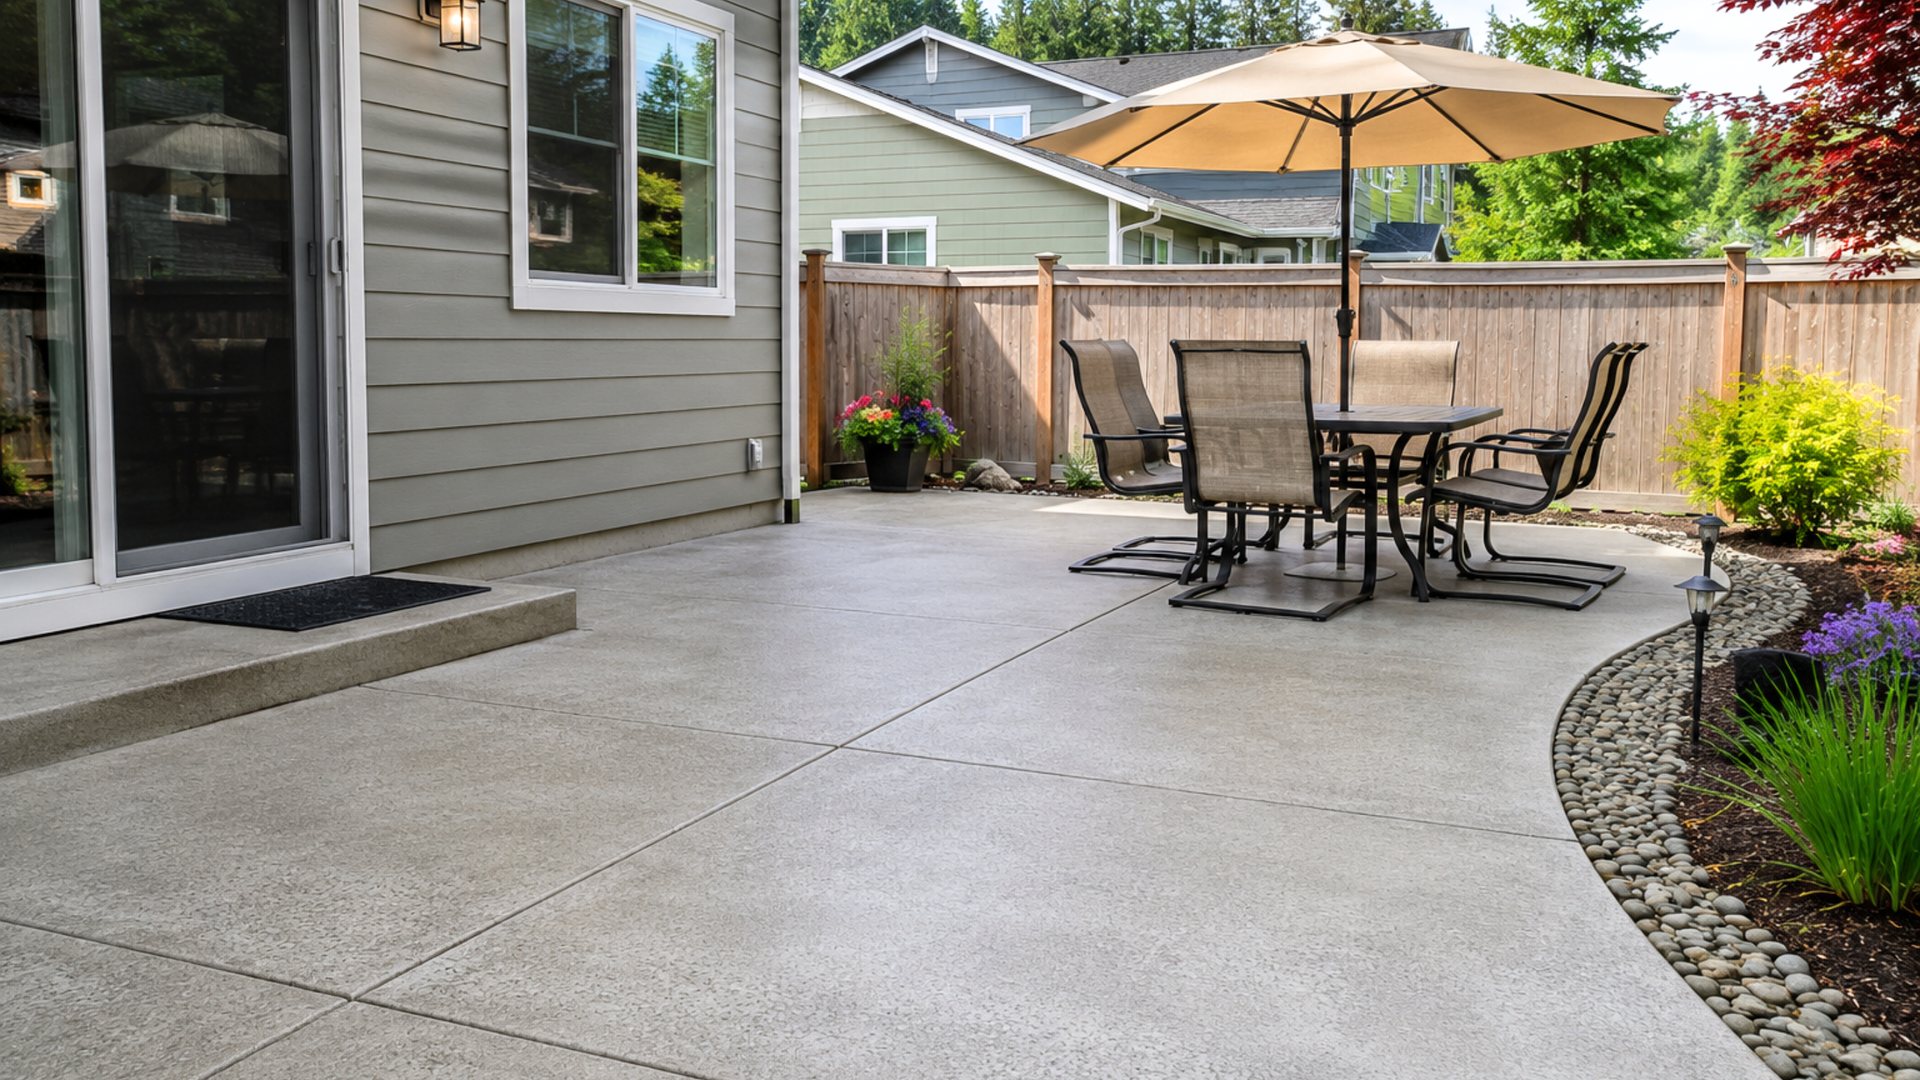
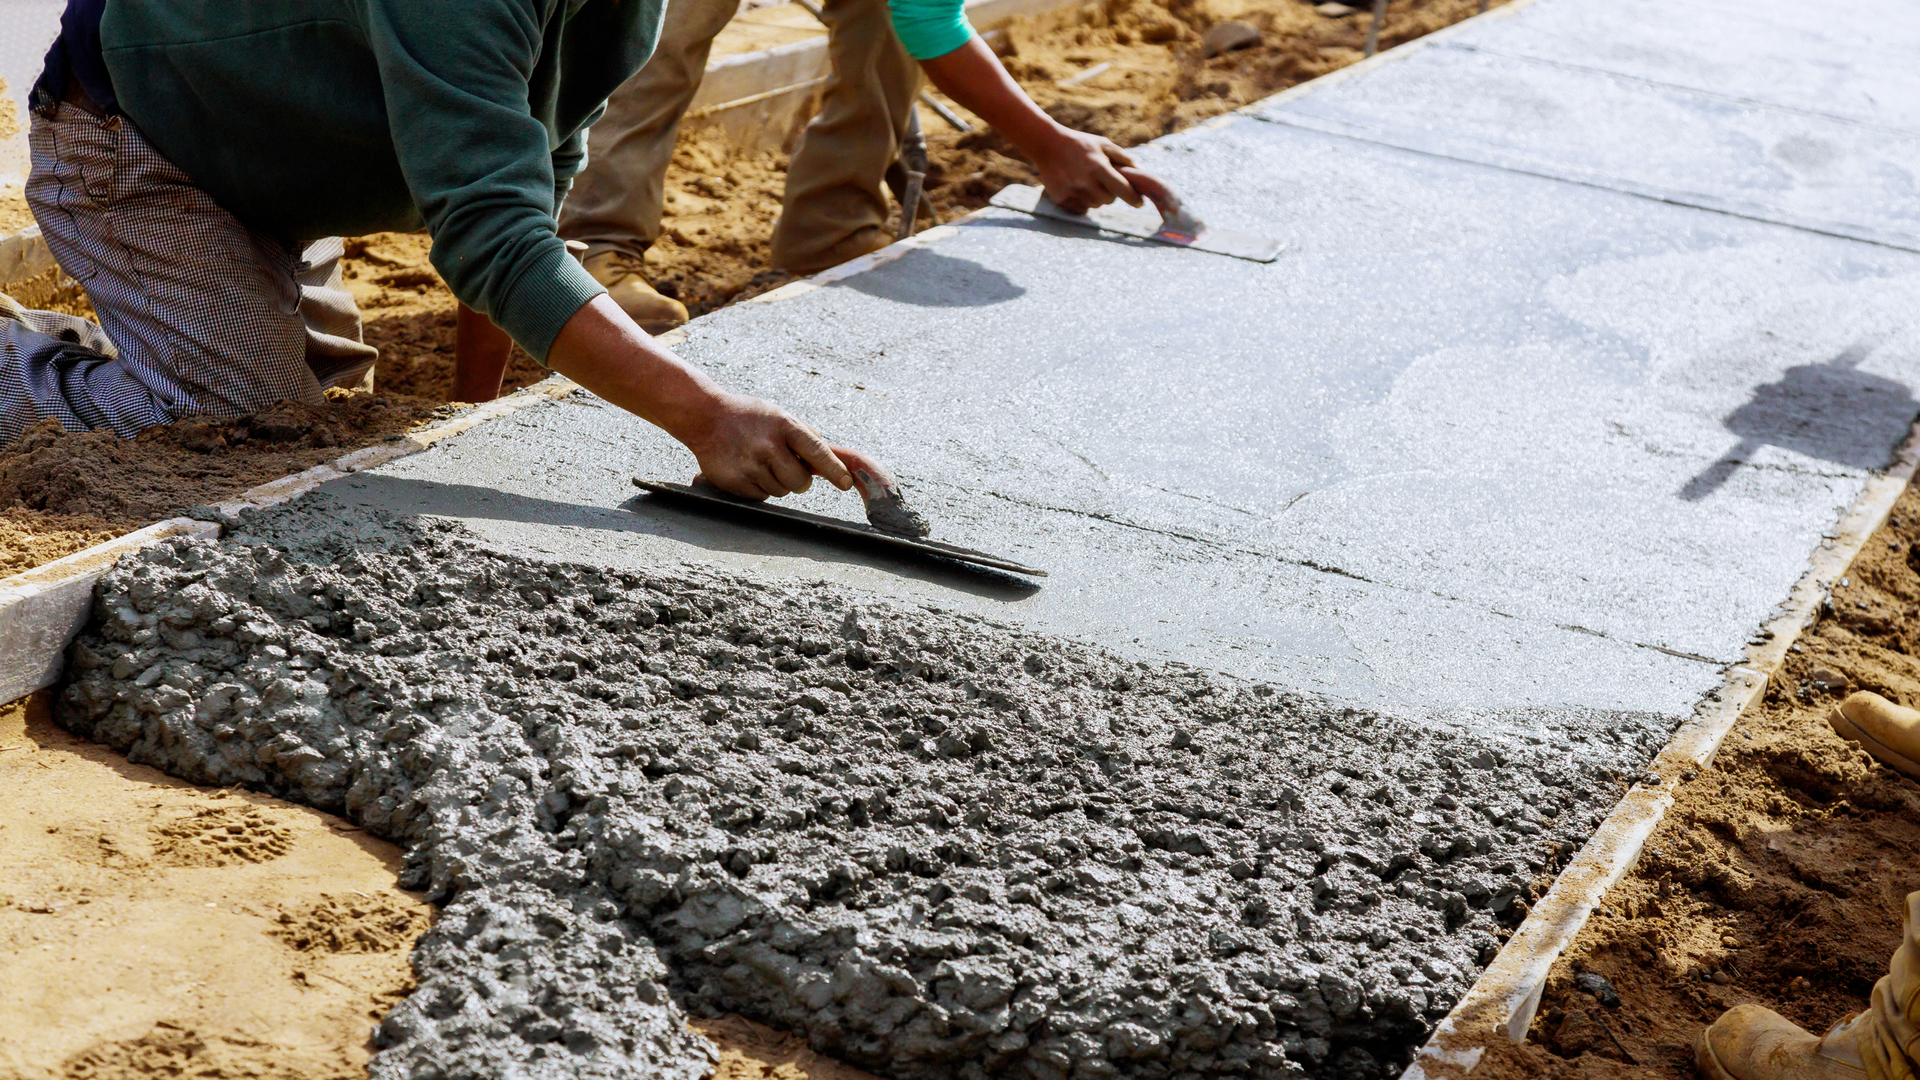
Step 7: Finishing the Surface
After the concrete is poured, the surface is finished to achieve the desired texture and appearance.
Common Finish Types
- Broom finish for traction
- Smooth finish for a cleaner look
- Decorative finishes such as stamped or exposed aggregate
The finish impacts both appearance and safety. Broom finishes are commonly used in residential driveways for better traction.
For homeowners exploring decorative options, see Stamped Concrete Driveways in Silverdale WA: Costs, Design Options, and What Homeowners Should Know.
Step 8: Control Joints and Crack Management
Control joints are cut into the concrete to manage where cracks occur.
Concrete naturally expands and contracts due to temperature changes. Control joints allow this movement to happen in controlled locations.
Why Control Joints Are Important
- Reduce random cracking
- Improve long-term appearance
- Maintain structural performance
Proper placement and spacing of joints help guide cracks in a controlled and predictable way.
Step 9: Curing the Concrete
Curing is one of the most critical steps in the process.
Concrete gains strength over time through a chemical reaction. It does not simply dry.
Proper Curing Helps
- Increase strength
- Reduce surface cracking
- Improve long-term durability
- Extend lifespan
Driveways should not be used immediately after installation. Light foot traffic may be allowed within a few days, but vehicles should wait until the concrete has gained enough strength.
Step 10: Sealing the Driveway
After curing, a sealer may be applied to protect the surface.
Benefits of Sealing
- Helps protect against moisture
- Reduces staining
- Preserves surface finish
- Slows wear over time
In Silverdale’s wet climate, sealing helps prevent water from penetrating the surface.
For ongoing care guidance, see Concrete Driveway Maintenance Tips for Silverdale Homeowners.
Installation Timeline: What Homeowners Can Expect
Concrete driveway installation usually takes several days, depending on size and site conditions.
Typical Timeline
| Phase | Estimated Time |
|---|---|
| Site preparation and excavation | 1–2 days |
| Base preparation and forms | 1 day |
| Pouring and finishing | 1 day |
| Initial curing | 2–3 days |
| Full curing before heavy use | 7+ days |
Weather conditions may affect scheduling, especially during periods of rain.
Common Installation Mistakes to Avoid
Homeowners should be aware of common issues that can affect driveway performance.
Frequent Problems
- Poor base compaction
- Incorrect concrete thickness
- Inadequate drainage design
- Improper joint placement
- Rushed curing process
These mistakes can lead to cracking, uneven surfaces, and reduced lifespan.
How Installation Affects Long-Term Cost
Installation quality directly impacts long-term cost.
A properly installed driveway may require minimal repairs for many years. A poorly installed one may need frequent maintenance or early replacement.
Homeowners evaluating costs can review How Much Does a Concrete Driveway Cost in Silverdale WA for a better understanding of long-term value.
Installation and Long-Term Performance
The installation process determines how well a driveway performs over time.
A well-installed driveway:
- Maintains a level surface
- Resists cracking and shifting
- Handles moisture effectively
- Requires less maintenance
For a deeper look at durability expectations, see How Long Does a Concrete Driveway Last in Silverdale WA.
Why Homeowners Work With Pacific Roots Concrete
Pacific Roots Concrete provides residential concrete services throughout Silverdale and surrounding areas. Our team focuses on proper preparation, structural integrity, and installation practices designed for local conditions.
By managing each phase of the installation process carefully, we help homeowners achieve driveways that perform reliably and maintain their appearance over time.
Final Thoughts
Concrete driveway installation is a detailed process that requires careful planning, proper materials, and precise execution. Each step, from excavation to curing, plays a role in long-term performance.
Homeowners who understand the installation process are better prepared to make informed decisions and recognize quality work.
A properly installed driveway provides long-term durability, consistent performance, and lasting value for your home.